


 Italiano
 Français
 Deutsch
 Español
 Português
 Svenska
 Suomi
Suomi
Fruit Drying
Home techniques without waste
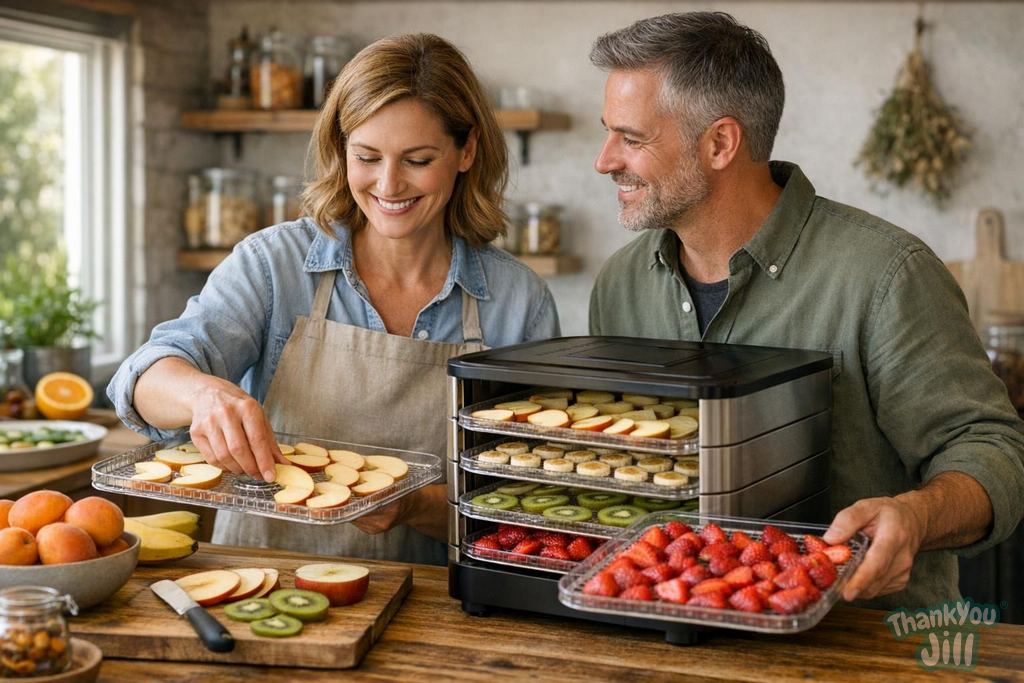
August: apricots are cheap, figs fall from trees, tomatoes are everywhere. October: apples pile up, pears all ripen at once. Seasonality brings abundance, but often more than we can eat fresh. Drying is one of humanity's oldest preservation techniques, the most energy-efficient, and the one that best preserves nutrient and flavor concentration. Learning to dry at home is one of the best time investments you can make to reduce food waste.
What happens during drying: the chemistry of preservation
Drying removes water from the product, reducing the water activity available for bacteria and mold. When moisture content drops below 20% (ideally below 15%), microorganisms cannot grow. The product stays fresh at room temperature for months or years.
Unlike heat sterilization, drying doesn't destroy most vitamins (except some vitamin C, which is heat-sensitive). Nutrients become concentrated: 100g of dried apricots contain about 5-6 times more beta-carotene, iron, potassium, and fiber than 100g of fresh apricots. The concentration is both nutritional and caloric: watch your portions of dried fruit.
Home methods compared
Traditional oven: the most accessible method. Ideal temperature: 50-70°C, never above 80°C (otherwise you're cooking, not drying). Leave the oven door slightly open to let moisture escape. Times: 6-12 hours for sliced fruit, 8-16 hours for vegetables, longer for whole tomatoes or figs. Uses more energy than a dedicated dehydrator.
Electric dehydrator: the best investment if you dry often. Basic models cost 40-70 euros. Precise temperature control (40-70°C), forced air circulation, multiple trays for large quantities. More energy-efficient than an oven because it uses only the energy needed for that specific function.
Sun and air: the oldest and most energy-efficient method. Works in hot, dry climates (Southern Italy, August-September). Requires at least 3-5 consecutive days of sun and low humidity. Risk of insects: use protective nets. For Sicilian dried tomatoes, Sardinian figs, raisins: sun is the traditional method and gives the best flavor results.
Which fruit to dry: the best choices
Apricots: halved and pitted. Wonderful when dried. They retain beta-carotene excellently. Dry without sulfur dioxide bleaching (commercial products are often bright yellow for this reason): the homemade version turns brown, less photogenic but more natural.
Figs: whole or halved. Rich in calcium, iron, and fiber. Homemade dried figs have no comparison to industrial ones for flavor. Tomatoes: sliced or halved. They concentrate lycopene. San Marzano or cherry tomatoes are ideal. Apples and pears: thin slices. Great snacks. Spray with lemon juice to prevent browning.
Bananas: in rounds. Excellent snack for kids. Nearly ripe bananas (with a few brown spots) are ideal. Plums: whole or halved. Dried plums are a classic, rich in sorbitol and fiber good for digestion. Strawberries: sliced, wonderful in winter cereals. Citrus peels: dried lemon and orange peels to flavor tea, desserts, and sauces.
Optimal preparation before drying
Uniform slice thickness: the most important rule for even drying. 3-6 mm for delicate fruit (strawberries, bananas), 8-10 mm for apples and pears, 15 mm for apricots. A kitchen mandoline is a valuable tool for getting uniform slices. Thicker slices take much longer and risk staying moist in the center.
Pretreatment to prevent browning: lemon juice (vitamin C is antioxidant) for apples, pears, bananas, peaches. Brief soaking (1-2 minutes) in water and lemon solution. Not mandatory but improves the appearance of the finished product.
How to tell when it's ready
Properly dried fruit should not be crispy like a cracker (over-dried) or sticky to the touch (too moist). It should be flexible, like leather: when you bend it, it doesn't break but doesn't release moisture. For vegetables, the target is drier, almost crispy. Do a test: cut a piece and look at the cross-section. If you still see moisture inside, put it back for another hour.

Drying is the most ancient gesture of respect for food that exists. It transforms August's abundance into December's wealth. Zero waste, zero preservatives, zero packaging: just fruit, sun, and patience.
Your first drying cycle: cherry tomatoes
Cherry tomatoes are the simplest and most rewarding starting point. Cut them in half lengthwise. Arrange them on parchment paper on a baking sheet, cut-side up. Sprinkle with a pinch of sea salt and oregano. Oven at 60°C with the door slightly ajar (stick a toothpick in it). Wait 8-12 hours. They're ready when they look shriveled, slightly chewy, dry to the touch but not hard. Store them in a glass jar with extra virgin olive oil.
Storing dried fruit
Dried fruit keeps: at room temperature in paper or cloth bags (6-12 months) if properly dried, in airtight glass jars in the dark (12-18 months), in the freezer (2-3 years, practically unlimited). Moisture is the enemy: if bags show condensation or the inside is sticky, the fruit wasn't dried enough. Put it back in the dehydrator for 2-3 hours.
Dried fruit in snacks and recipes
Chopped dried apricots in morning porridge, dried tomatoes in pasta or on bruschetta, dried figs with pecorino cheese (classic Italian pairing), dried apples with cinnamon as a snack for kids, citrus peels in herbal teas and desserts. Homemade dried fruit replaces sugary industrial snacks with something natural, flavorful, and made by you.
Drying as a waste-reduction practice
Always keep a drying tray ready. Whenever you have ripe fruit you can't eat fresh: slice it and put it in the dehydrator instead of throwing it away. Bruised fruit, apples with small defects, fallen figs: all recoverable through drying. In three months of consistent practice, you'll reduce fruit and vegetable food waste by at least 30-40% in your kitchen.
Frequently Asked Questions
What is the ideal temperature for drying fruit in the oven without cooking it?
The ideal temperature for drying fruit in the oven is between 50 and 70°C, never above 80°C to avoid cooking instead of drying. It's recommended to leave the oven door slightly open to let moisture escape.
How do you know if dried fruit is ready and well preserved?
Ready dried fruit is flexible like leather, neither crispy nor sticky. If it breaks easily or is moist inside, it needs more drying. Store fruit in airtight glass jars in the dark or paper bags to prevent moisture.
Which fruits are best suited for home drying and how do you prepare them?
Apricots, figs, tomatoes, apples, pears, bananas, and plums are ideal. Cut fruit into uniform slices (3-15 mm depending on type) and use lemon juice to prevent browning of apples, pears, and bananas.
When is it worth using an electric dehydrator instead of an oven or sun?
An electric dehydrator is recommended if you dry often, because it's more energy-efficient, allows precise temperature control and air circulation, compared to an oven that uses more energy or sun that requires hot, dry weather.


Latest News




Comments
No comments yet. Be the first!
Leave a comment