

 English
 Italiano
 Français
 Deutsch
 Español
 Português
 Svenska
 Suomi
Suomi
How to Build a Birdhouse: A Practical Guide for Families
Measurements, wood selection, placement, and maintenance tips
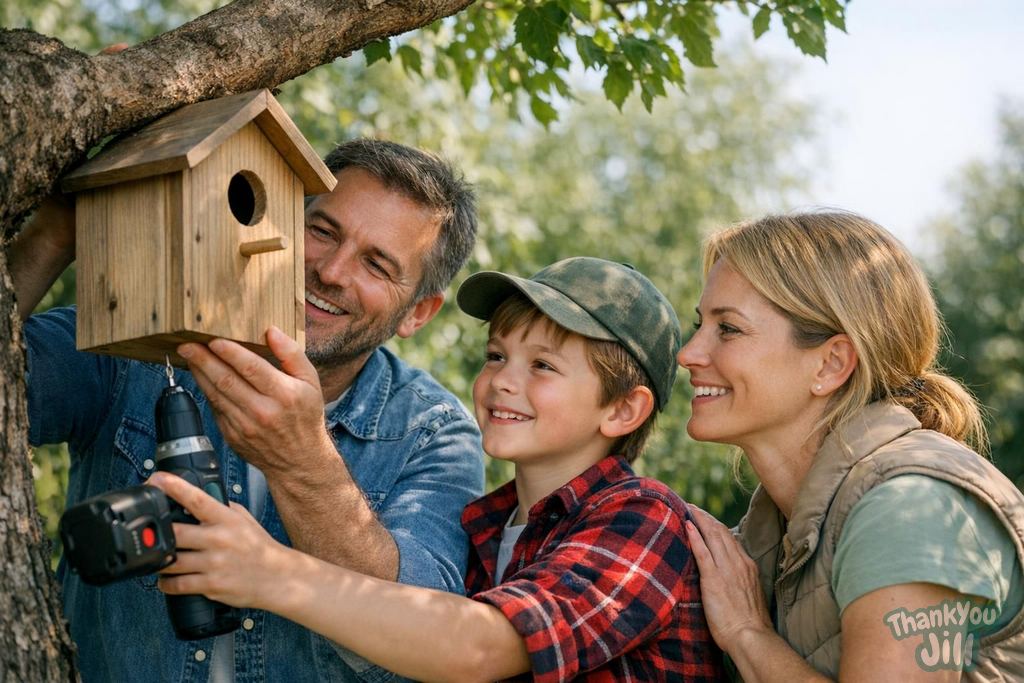
Building a nesting box isn't just a hobby for enthusiasts—it's one of the most effective concrete actions a family can take for local biodiversity. In a landscape increasingly stripped of old trees with natural cavities, artificial boxes are often the only nesting option available for dozens of bird species. And building them with your children makes it even more worthwhile.
Why nesting boxes matter
Most cavity-nesting birds don't excavate their own holes—they use existing cavities in old trees or abandoned woodpecker holes. As old trees have become increasingly rare in managed forests, intensive orchards, and cities, these cavities have grown scarce. Artificial nesting boxes partially fill this gap: scientific studies across Europe document significant population increases of great tits, blue tits, redstarts, and bats in areas where boxes are installed in sufficient numbers. It's not decoration—it's habitat. A properly positioned box gets occupied within 1–3 years and can be used for decades by the same pair or successive couples.
The right wood: what to use and what to avoid
The ideal material for a nesting box is untreated rough wood with a thickness of 2–2.5 cm. Best species: Scots pine, spruce, larch, oak. The wood should be rough (unplaned) on the inside—the rough surface lets chicks climb toward the exit when it's time to fledge. Absolutely avoid: plywood (deteriorates quickly with moisture), MDF and particleboard (contain toxic glues and resins), wood treated with varnish, wood stain, or biocides. If you want to protect the exterior from weather: use raw linseed oil or beeswax applied only to the outside—no treatment on the inside. A rough pine or larch box with no treatment easily lasts 10–15 years outdoors.
Dimensions: each species has its own apartment
The entrance hole diameter is the most critical measurement: it must be large enough for your target species but small enough to exclude larger predators (like blackbirds that might raid eggs). Here are standard dimensions for the most common Italian species: Blue tit (Cyanistes caeruleus): hole 26–28 mm, interior 10×10 cm, height 20–25 cm. Great tit (Parus major): hole 32 mm, interior 12×12 cm, height 20–25 cm. Common redstart (Phoenicurus phoenicurus): hole 40 mm or partial front opening, interior 12×12 cm. Little owl (Athene noctua): hole 85 mm, interior 20×20 cm, height 30 cm. Tawny owl (Strix aluco): hole 180 mm (large), interior 25×25 cm, height 40–50 cm. Common pipistrelle (Pipistrellus pipistrellus): 2 cm wide slot at the bottom (bottom entry), interior 20×15 cm. The roof should overhang at least 5 cm to protect the hole from rain.
Where to position it: location rules
Position is as important as construction. General rules: Height—at least 2–3 meters for small tits, 4–6 for redstart and wryneck, 5–8 for little and tawny owls. Orientation—the hole should face preferably east or northeast: avoid direct afternoon sun (which overheats the nest) and westerly winds (which bring rain in many Italian areas). Tilt—the box should lean slightly forward (5–10°) to let rainwater run off and not enter the hole. Predator protection—position the box on a trunk without easily climbable branches nearby. A smooth metal collar around the trunk below the box prevents cats from climbing. Distance between boxes—territorial species (great tit, redstart) need at least 15–20 meters between same-sized boxes to avoid conflict. Colonial species (swallows) accept closer spacing.
Annual maintenance: the often-forgotten step
Maintenance is essential and often overlooked. Every year, between September and November (after breeding season, before any winter roosters occupy them), boxes should be opened, the old nest completely removed (it contains parasites, mites, and insect larvae), the interior cleaned with hot water (no chemical detergents), and dried thoroughly before closing. The old nest can go in the compost or green waste. Never leave the old nest inside for the next year: the parasite load discourages re-occupation and can infect next season's chicks.

A nesting box built by a child's hands and hung in a garden tree is worth more than a thousand lectures on biodiversity. It's concrete, it's visible, and every year brings real results: a bird entering, bringing material, singing at dawn from the hole. The forest coming home.
Assembly instructions for a basic great tit box
- Materials: 1 piece of rough pine 2 cm thick, cut to these dimensions: bottom 12×14 cm, front 12×25 cm (with 32 mm hole 5 cm from top edge), back 12×30 cm (with holes for tree mounting), two sides 12×20 cm (angled at top for roof), roof 14×20 cm. Total wood needed: about 1 board 10 cm × 1.5 m.
- Assembly: start by fastening the bottom to both sides with 3.5×35 mm wood screws. Then attach the front to the sides. Attach the back to the sides (the back should extend 5 cm above for tree mounting). The roof attaches only to the back with a hinge (or screws allowing opening for annual cleaning). Use screws, not nails—they hold better in moisture.
- The hole: use a drill with a 32 mm spade bit. Make the hole 5 cm from the top edge of the front panel. Lightly sand the outer edge of the hole (not the inside) to prevent splinters. Don't add a perch below the hole—birds don't need it and it helps predators enter.
- Tree mounting: use two long screws through the back. Don't use nails—they damage bark. Screws cause minimal damage and let you move the box if needed.
- Adding wood chips: put 2–3 cm of wood chips (not sawdust, which is too fine) on the box bottom. Birds will use them as a nest base or replace them with their preferred material.
- With children: aesthetic personalization. Let children draw or carve their name on the exterior with a pencil or wood-burning tool (with adult supervision). The box becomes "theirs" and monitoring the breeding season becomes a personal project: they check weekly if anyone's moved in, if there are eggs, when chicks hatch.
A well-built and well-positioned nesting box lasts 15 years and hosts dozens of bird families. The return on investment—in biodiversity, children's education, and connection to nature—is among the highest available at a cost of just a few euros and a few hours of enjoyable manual work.
Frequently Asked Questions
What's the best wood for building a birdhouse and which materials should I avoid?
The ideal wood is untreated, rough, 2–2.5 cm thick, such as Scots pine, spruce, larch, or oak. Avoid plywood, MDF, particleboard, and wood treated with varnish or biocides, as they deteriorate or are toxic to birds.
How do I choose the entrance hole size based on bird species?
The hole must be large enough for your target species but small enough to exclude larger predators. For example, great tits need 32 mm, blue tits 26–28 mm, redstarts 40 mm, and little owls 85 mm. Each species has specific dimensions to ensure safety and access.
What's the ideal position for a birdhouse to maximize occupancy?
Position the box 2–8 meters high depending on species, with the hole facing east or northeast to avoid afternoon sun and rain. Tilt it slightly forward (5–10°) and protect it from predators with a metal collar on the trunk.
When and how should I perform annual birdhouse maintenance?
Maintenance should be done between September and November, after breeding season. Remove the old nest, clean the interior with hot water without chemical detergents, and dry thoroughly before closing. This prevents parasites and encourages re-occupation.

Latest News




Comments
No comments yet. Be the first!
Leave a comment